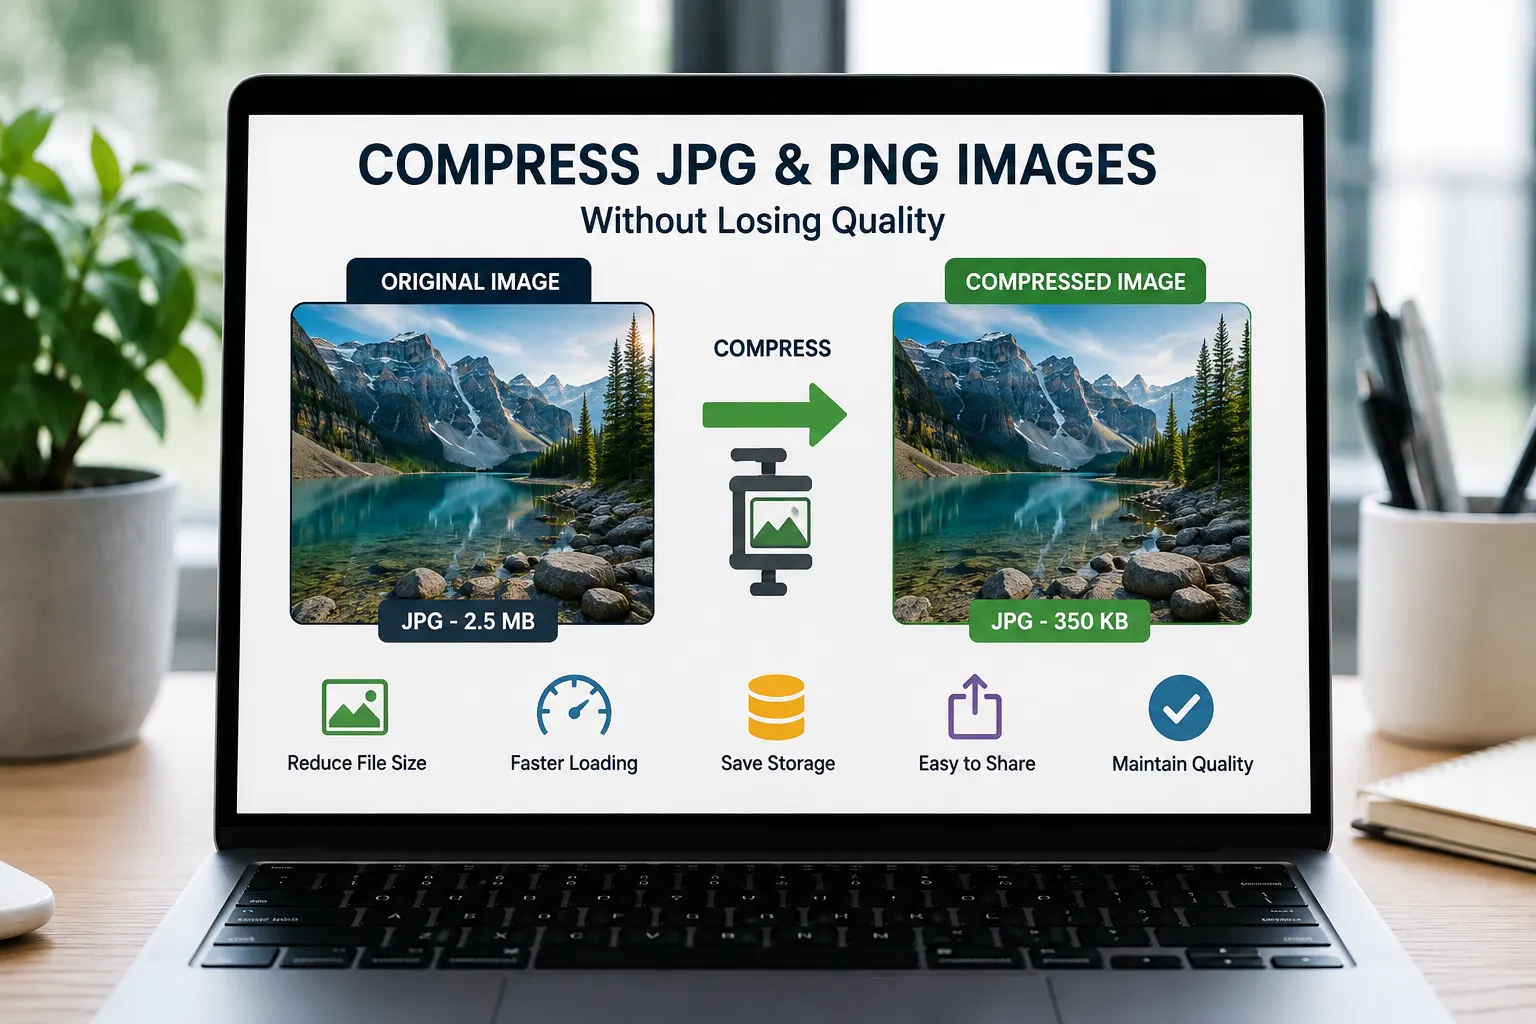
High quality images are important for websites, social media, online stores, presentations, and everyday work. However, large JPG and PNG files can take up unnecessary storage space and make websites load slowly. The good news is that you can compress images without noticeably reducing their quality.
Image compression reduces the file size while keeping the image clear and usable. With the right settings and tools, you can make JPG and PNG images smaller without making them look blurry or distorted.
Why Should You Compress JPG and PNG Images?
Large image files can create several problems, similar to how managing large PDF to Excel files can be complex. They take longer to upload, use more storage, and can slow down webpages.
For websites, image size can also affect the overall user experience. Users expect websites to load quickly, particularly when accessing them on mobile devices.
Compressing images can help you:
-
Reduce image file size
-
Improve website loading speed
-
Save storage space
-
Make images easier to upload and share
-
Reduce bandwidth usage
-
Improve the overall user experience
The goal is not simply to make an image as small as possible. The goal is to find a good balance between file size and visual quality.
JPG vs PNG: Which Image Should You Compress?
Before compressing an image, it helps to understand the difference between JPG and PNG.
JPG Images
JPG is commonly used for photographs, product images, banners, and other images containing many colors. It uses lossy compression, which means some image information can be removed to reduce the file size.
When compressed properly, JPG images can become significantly smaller while still looking sharp.
PNG Images
PNG is useful for graphics, logos, screenshots, icons, and images that require transparency. PNG files often have larger file sizes than JPG files, particularly when they contain detailed graphics.
PNG compression can reduce file size while maintaining the important details of the image.
How to Compress JPG and PNG Images Without Losing Quality
There are several ways to reduce image size while keeping good visual quality.
1. Choose the Right Image Format
The first step is selecting the appropriate format. Use JPG for photographs and complex images with many colors. Use PNG when transparency, sharp graphics, or text details are important. Using the right format can reduce the file size before you even start compression.
2. Resize Large Images
Image dimensions have a major effect on file size. For example, if an image is 5000 pixels wide but only needs to appear at 1200 pixels on a website, keeping the original dimensions may be unnecessary.
Resize the image to the dimensions you actually need before compressing it. This can significantly reduce the amount of data stored in the file.
3. Use Moderate Compression
Compression settings should be adjusted carefully. Extremely high compression may create visible artifacts, blurry edges, or loss of detail. For JPG images, a moderate quality setting is often enough to achieve a substantial reduction in file size without an obvious visual difference.
For PNG images, use an effective image compressor and methods that reduce unnecessary data while preserving important details.
4. Remove Unnecessary Metadata
Images can contain metadata such as camera information, editing software details, timestamps, and other technical information.
This data is not always needed when publishing an image online. Removing unnecessary metadata can slightly reduce the file size. However, make sure you keep any metadata that is important for your specific use case.
5. Compare the Original and Compressed Images
Never rely only on the final file size. Check the image itself.
Open the compressed version and compare it with the original. Look closely at:
-
Text
-
Faces
-
Fine details
-
Edges
-
Shadows
-
Transparent areas
-
Product details
If the compressed image still looks clear, the compression settings are likely suitable.
Compress Images Online
One of the easiest ways to reduce image size is to use an online image compression tool. Online tools are convenient because you do not need to install desktop software. You can upload an image, let the tool process it, and download the smaller version. This approach is particularly useful when you need to compress images occasionally or work from different devices.
With an online tool such as PROCONVERTOR, you can compress images directly from your browser. This makes the process simple for users who want to reduce JPG or PNG file sizes without installing additional applications.
How to Compress a JPG or PNG Online
The process is usually straightforward.
Step 1: Select Your Image
Choose the JPG or PNG image you want to compress. Before uploading it, check whether you are working with the original file or a previously compressed version.
Step 2: Upload the Image
Open the image compression tool and upload your file. Depending on the tool, you may be able to upload one or multiple images.
Step 3: Let the Tool Compress the File
The compression process removes unnecessary data and reduces the overall file size. A good compression tool aims to maintain the visual appearance of the image.
Step 4: Check the Result
After compression, compare the new file with the original. Make sure important details are still clear.
Step 5: Download the Smaller Image
Once you are satisfied with the result, download the compressed image and use it for your website, email, social media post, or other project.
How Much Can You Reduce an Image?
There is no fixed amount because compression results depend on several factors.
The final file size can be affected by:
-
Original image dimensions
-
Image format
-
Image quality
-
Amount of detail
-
Existing compression
-
Metadata
-
Compression method
A detailed photograph may have a different result from a simple graphic or logo. Therefore, it is better to focus on maintaining acceptable quality rather than targeting one specific percentage of compression.
Common Mistakes When Compressing Images
Image compression is simple, but some mistakes can reduce quality unnecessarily.
Using Excessive Compression
Trying to achieve the smallest possible file can make an image look blurry or pixelated. Always check the visual result.
Compressing the Same Image Repeatedly
Repeatedly saving and compressing a JPG can gradually reduce its quality. Whenever possible, keep the original file and create compressed copies from it.
Ignoring Image Dimensions
A huge image may remain large even after moderate compression. Resize unnecessary dimensions before compression.
Using PNG for Every Image
PNG is excellent for certain graphics, but it may not be the best option for photographs. Choosing the correct format can make a major difference in file size.
Tips for Better Image Compression
For better results, follow these simple practices:
-
Start with the original image.
-
Choose JPG or PNG based on the type of image.
-
Resize images to the required dimensions.
-
Avoid excessive compression.
-
Compare the compressed image with the original.
-
Keep a backup of important original files.
-
Use an online image compressor when you need a quick solution.
-
Check images on both desktop and mobile if they are intended for a website.
Why Image Compression Matters for Websites
Website images can account for a significant portion of a webpage's total size. Large images can increase loading times and make browsing less convenient.
Compressed images are generally easier to load and transfer. This can create a smoother experience for visitors, particularly users with slower internet connections.
For online stores, blogs, portfolios, and business websites, optimizing images should therefore be part of the regular content publishing process.
Compress JPG and PNG Images the Easy Way
You do not always need complicated software to reduce image file sizes. A reliable online image compression tool can handle the process directly from your browser.
The key is to focus on quality and file size together. Resize oversized images, select the appropriate format, use reasonable compression, and always review the final result.
When done correctly, image compression can make JPG and PNG files considerably smaller while keeping them clear enough for websites, documents, social media, and everyday use. This gives you the benefits of smaller files without sacrificing the visual quality that matters.
Looking for more file conversion options? Explore all ProConvertor tools on our converter page.
Frequently Asked Questions
1. What is the difference between JPG and PNG compression?
JPG is best suited for photographs and complex images with many colors, using lossy compression to reduce file size. PNG is ideal for graphics, logos, and images requiring transparency, as it preserves high detail.
2. Why is image compression important for websites?
Large images can significantly slow down webpage loading times, which harms the user experience and can affect site performance. Compression reduces file size, ensuring pages load quickly and efficiently for visitors.
3. Will compressing my images make them blurry?
Not if done correctly. By selecting appropriate compression settings and avoiding excessive reduction, you can significantly decrease file size while maintaining visual clarity and sharpness.
4. Is it okay to compress the same image repeatedly?
It is best to avoid this. Repeatedly saving and compressing the same file, especially JPGs, can lead to a gradual loss of quality. Always start with the original high-quality file when creating new compressed copies.