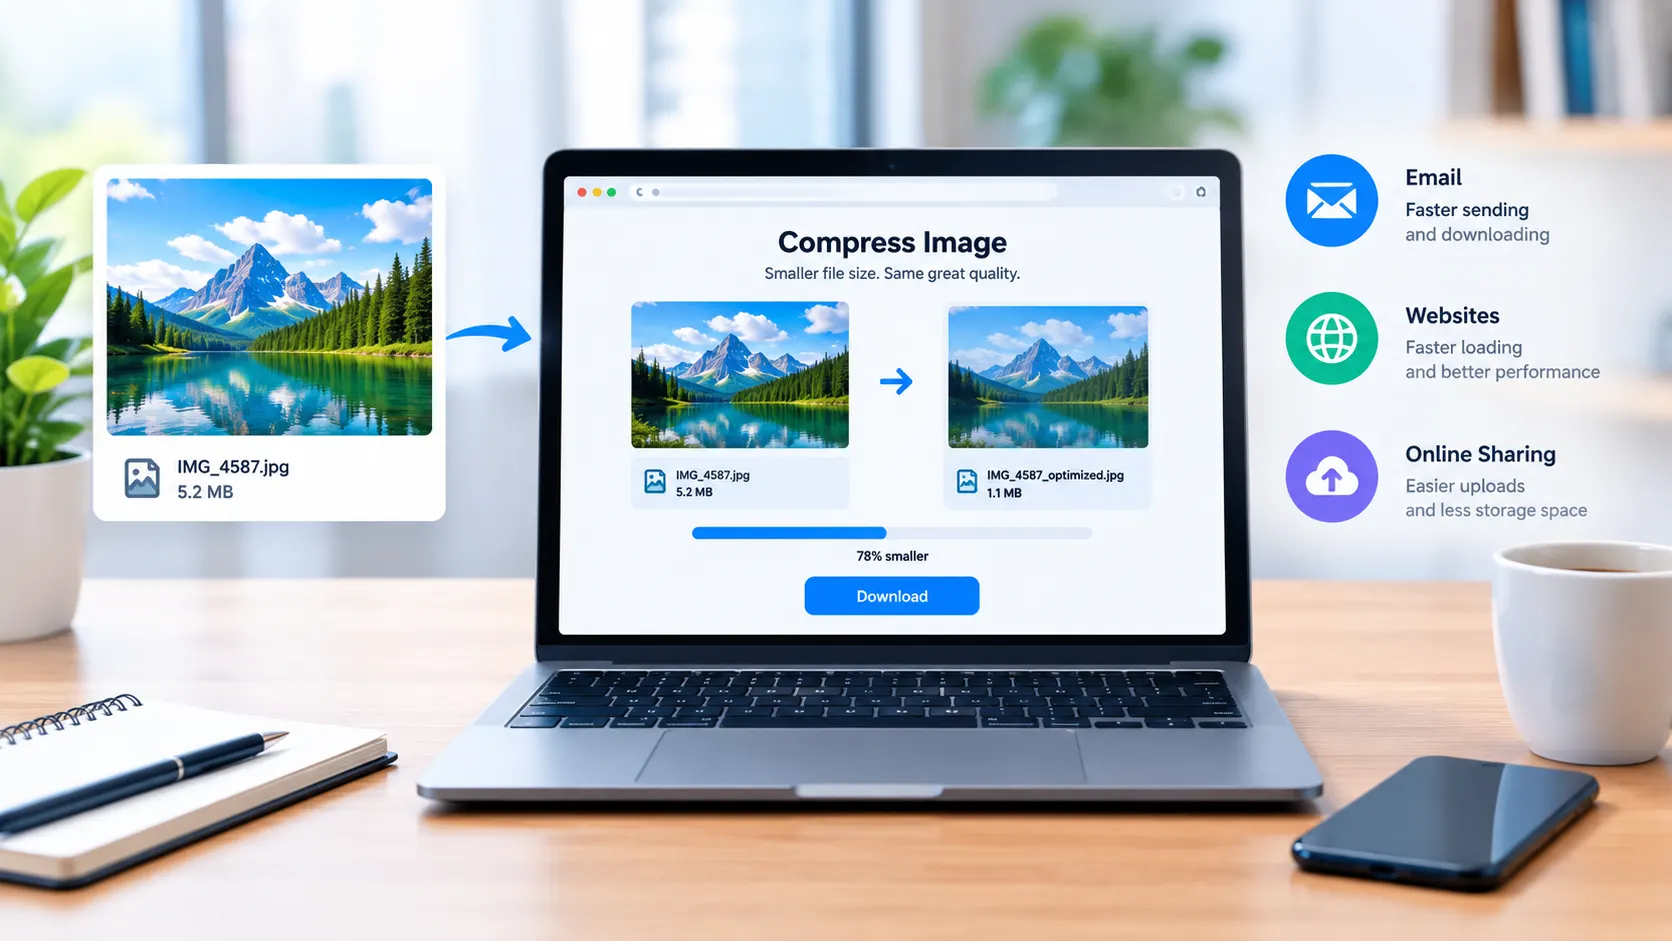
A photo can look perfectly normal on your screen and still be far too large for an email or website. Modern phones and cameras capture images at high resolutions, which is useful when you need detailed photographs. However, that same resolution can create unnecessarily large files for everyday online use.
A 6 MB photo may be excessive for an email attachment. The same image may also be much larger than necessary if it is going to appear as a small picture inside a blog post.
This is why learning how to reduce image file size is useful for anyone who regularly works with digital images. The process involves more than simply making a picture smaller. You need to consider where the image will be used, how much detail it needs, and how much file data can be removed without affecting its appearance.
Start With the Purpose of the Image
Before changing an image, decide what you actually need it to do.
An image prepared for an email does not necessarily need the same settings as a product photograph on an online store. A small blog thumbnail has different requirements from a full width website banner.
Think about the final use first.
For example:
-
A personal email may only require a screen friendly photograph.
-
A blog may need a reasonably sharp image that loads quickly.
-
An online store needs product details to remain visible.
-
A website banner may require larger dimensions than a thumbnail.
-
A document attachment may need a balance between readability and file size.
Once you know the purpose, it becomes easier to decide how much optimization is appropriate.
Why Photos From Phones Can Be So Large
Many smartphones automatically capture photographs at high resolutions. This allows users to crop, print, and edit their pictures while retaining plenty of detail.
The problem is that email recipients and website visitors do not always need that level of resolution.
Imagine taking a photograph with a modern phone and attaching the original file to an email. The recipient may view it on a phone screen that is only a fraction of the photograph's original dimensions.
In this situation, much of the image data may not provide a noticeable benefit.
Reducing the dimensions can therefore be one of the easiest ways to make the file more practical.
Reduce Dimensions Before Chasing Extreme Compression
One common mistake is to immediately use heavy compression when an image is too large. Consider the dimensions first.
If a photograph is several thousand pixels wide but will only appear in a smaller area, reducing its width can remove a substantial amount of unnecessary data.
For instance, an image prepared for a small content area does not necessarily need to retain the dimensions of the original camera photograph.
The important point is to resize according to the final use rather than choosing an arbitrary small size.
File Size and Image Dimensions Are Not the Same Thing
These two terms are often confused.
Image dimensions, describe the physical number of pixels in the image, such as its width and height.
File size describes how much storage space the image file occupies, usually measured in KB or MB.
Changing the dimensions can affect the file size, but they are not identical measurements.
A large image can sometimes have a surprisingly small file size because of its format and compression. Likewise, an image with moderate dimensions can still be relatively large if it contains complex detail or is saved with little compression.
Understanding this difference makes image optimization much easier.
Preparing Images for Email
Email is one of the simplest places to benefit from image optimization. Larger attachments may take more time to upload or download. Sending several large photographs in one message can make the problem even more noticeable.
Send the Size the Recipient Actually Needs
Ask yourself whether the recipient needs the original photograph.
If they only need to view the image, a smaller version may be sufficient. If they need to print or edit it, retaining more resolution may be appropriate.
The correct choice depends on the purpose of the email.
Keep Multiple Photos Manageable
Suppose you need to send ten photographs. Even if each image is only a few megabytes, the combined attachment size can become substantial.
Optimizing the images individually before attaching them can make the entire collection easier to handle.
Keep the Original Copies
Do not overwrite your original photographs simply to create smaller email versions.
A better workflow is to create optimized copies. This allows you to keep the high-resolution originals for future editing, printing, or archiving.
Making Images More Suitable for Websites
Websites have a different requirement from email. When someone opens a webpage, the browser has to retrieve the images used on that page. If those images contain much more data than necessary, the page may have more work to do before all visual content is available. This is particularly relevant for pages containing many photographs.
Think About the Display Area
Look at the actual space where the image will appear. A small card image does not normally need the same dimensions as a large hero image. Preparing the file according to its display area can prevent unnecessary data from being loaded.
Consider Mobile Visitors
An image that looks appropriate on a large desktop monitor may be displayed much smaller on a phone.
This does not mean every image should be made extremely small. It means the image should be prepared with its actual use in mind.
Optimize Before Uploading
It is usually easier to prepare an image before adding it to a website rather than uploading a huge original and trying to solve the problem later.
Create a web suitable copy, check how it looks, and then add that version to the page.
JPG vs PNG: Which Image Format Should You Use?
The image format you choose can make a significant difference in its overall file size. It is therefore worth considering what type of visual you are working with before saving or uploading it.
JPG is generally well suited to photographs because it can store detailed, colorful images in a relatively compact file. It is often a practical option when keeping the file lightweight is important.
PNG works differently and is commonly used for graphics, screenshots, illustrations, and visuals that need a transparent background. Depending on the image, however, a PNG file can take up more storage space.
There is no single format that works best for every situation. Look at the image itself, where it will be used, and whether visual details or transparency are important before making your choice.
How Much Compression Is Enough?
Image compression reduces the amount of data stored in an image, helping keep the file smaller and making it easier to share, upload, and manage. However, reducing the file size too aggressively can eventually affect the way the image looks.
After compression, you may notice issues such as:
-
Fine details becoming less visible
-
Text appearing less sharp
-
Edges losing their definition
-
Small areas developing unwanted patterns
-
Photographs looking less natural
The aim is to find a practical file size that keeps the image easy to use while preserving acceptable visual quality. Instead, aim for a version that provides a useful reduction in size while still looking good for its intended purpose.
An image used in an email may tolerate more optimization than a product photograph where small details are important.
How to Tell If an Image Has Maintained Its Quality
File size alone does not tell you whether an image has been optimized properly.
After creating a smaller version, open it and check the key areas. Compare it with the original when needed.
For a photograph, pay attention to faces, textures, fine objects, and important details. If you are optimizing a screenshot, make sure the text remains readable. For product photography, check the edges, colors, and features that customers need to see.
The image does not have to remain identical to the original. It simply needs to retain enough quality for the way it will actually be viewed.
Optimizing Images Inside Documents
Images can also increase the overall document size. Reports, presentations, PDFs, and other files may become considerably larger when they contain several high-resolution pictures.
This can be inconvenient when the finished document needs to be emailed, uploaded, or shared with other people.
If the document is intended primarily for digital viewing, you may be able to use appropriately sized images instead of inserting full-resolution originals.
When images need to be packaged into a single document, Image to PDF can be useful for creating a PDF from image files.
For spreadsheet based content that needs to be shared as a fixed document, Excel to PDF provides another way to prepare the file for distribution.
When Keeping the Original Resolution Makes Sense
Reducing an image is useful in many situations, but there are times when the full-resolution version should be preserved.
You may want to keep the original high-quality version when:
-
You expect to print the photograph
-
Further editing may be required
-
You plan to crop the image later.
-
Small visual details are important
-
The image is being prepared for professional use
-
The file is being stored as a long-term original
A simple solution is to keep the original file untouched and create smaller copies for specific tasks. This gives you flexibility without permanently reducing the quality of your source image.
Why You Might Need Multiple Image Versions
A single photograph does not always need to be used in exactly the same form everywhere.
For example, you could maintain:
-
Full-resolution copy: Your original file for future editing, printing, or storage.
-
Email copy: A reduced version that is easier to attach and send.
-
Web copy: An optimized file with dimensions appropriate for the webpage.
-
Document copy: A version prepared specifically for reports, presentations, or PDFs.
Creating separate versions allows you to optimize each file for its purpose while protecting the original image.
What to Do When Compression Does Not Reduce the File Size Enough
Sometimes an image remains larger than expected even after you have compressed it. Start by checking its dimensions. The image may still contain far more pixels than necessary for its intended use.
You can also review the file format and determine whether another format would be more suitable for the type of image.
Another option is to create a second version with slightly smaller dimensions or a different quality setting. Compare the result before deciding which version to keep.
Image optimization is only one part of digital file management. If you regularly work with different document formats, PDF to Excel can help when information from a PDF needs to be transferred into a spreadsheet.
Similarly, Word to PDF can be useful when a Word document needs to be converted into a consistent format for sharing.
Example: How to Prepare a Large Photo for Your Blog
Suppose you have a 7 MB photograph taken with your smartphone and want to publish it in a blog article. The original may contain far more pixels than the webpage needs. Instead of uploading that file immediately, prepare a separate web version.
You could:
-
Keep a separate copy of the original photo.
-
Check how much space is available for the image.
-
Adjust the copy to the required dimensions.
-
Choose an image format that suits the photo.
-
Compress the image to a reasonable level.
-
Open the compressed version and check the key details.
-
Use the optimized version if it remains clear at the size where it will appear.
This method gives you a lighter web image while allowing the original photograph to remain safely stored.
Is the Smallest Image Always the Best Option?
Not necessarily.
Reducing an image too far can create a file that loads quickly but does not provide enough visual detail. On the other hand, keeping a huge original for every use can result in unnecessary storage and transfer requirements.
The appropriate file size depends on the situation.
For email, convenience and attachment size may be the main concerns. For websites, dimensions and loading efficiency are important. For professional photography, preserving detail may matter more than achieving the smallest possible file.
The right approach is to optimize the image according to its intended use rather than applying the same settings to every file.
Frequently Asked Questions
How can I make a large photo suitable for email?
Create a separate copy of the photograph and reduce its dimensions if they are much larger than necessary. You can then compress the copy and check its final size before attaching it.
What causes an image to have a large file size?
Several factors can contribute, including pixel dimensions, resolution, format, compression settings, image complexity, and additional information stored within the file.
Is resizing useful before adding an image to a website?
Yes. If an image is significantly larger than the area where it will appear, resizing it beforehand can remove unnecessary image data.
Is JPG always a better choice than PNG for smaller files?
No. The appropriate format depends on the image. JPG is often suitable for photographs, while PNG can be a better fit for graphics, screenshots, and transparent images.
Is it a good idea to keep the original image?
Yes. Keeping the original gives you a high-quality source that can be reused for printing, editing, cropping, or other purposes later.
Can an image be compressed through an online tool?
Yes. Browser-based image compression tools can reduce image files without requiring you to install dedicated image editing software.
Final Thoughts
Image optimization works best when it is based on the purpose of the file. An image prepared for an email does not necessarily need the same dimensions or quality settings as one intended for a website, printed material, or professional project.
Instead of permanently reducing your original photographs, create separate versions for different uses. Resize images when their dimensions are unnecessarily large, select a suitable format, and apply enough compression to reduce the file without damaging important details.
This approach can make images easier to email, upload, store, and share while keeping the quality appropriate for the situation.
Compress your images with ProConvertor tools to reduce file size while keeping them clear and useful. Make your images easier to upload, share, store, and use across websites and other platforms.